How to Learn a Handstand: A Step-by-Step Guide for Beginners
A three-phase guide to your first freestanding handstand: from inversion comfort to wall strength to freestanding balance, with a milestone test for each stage.
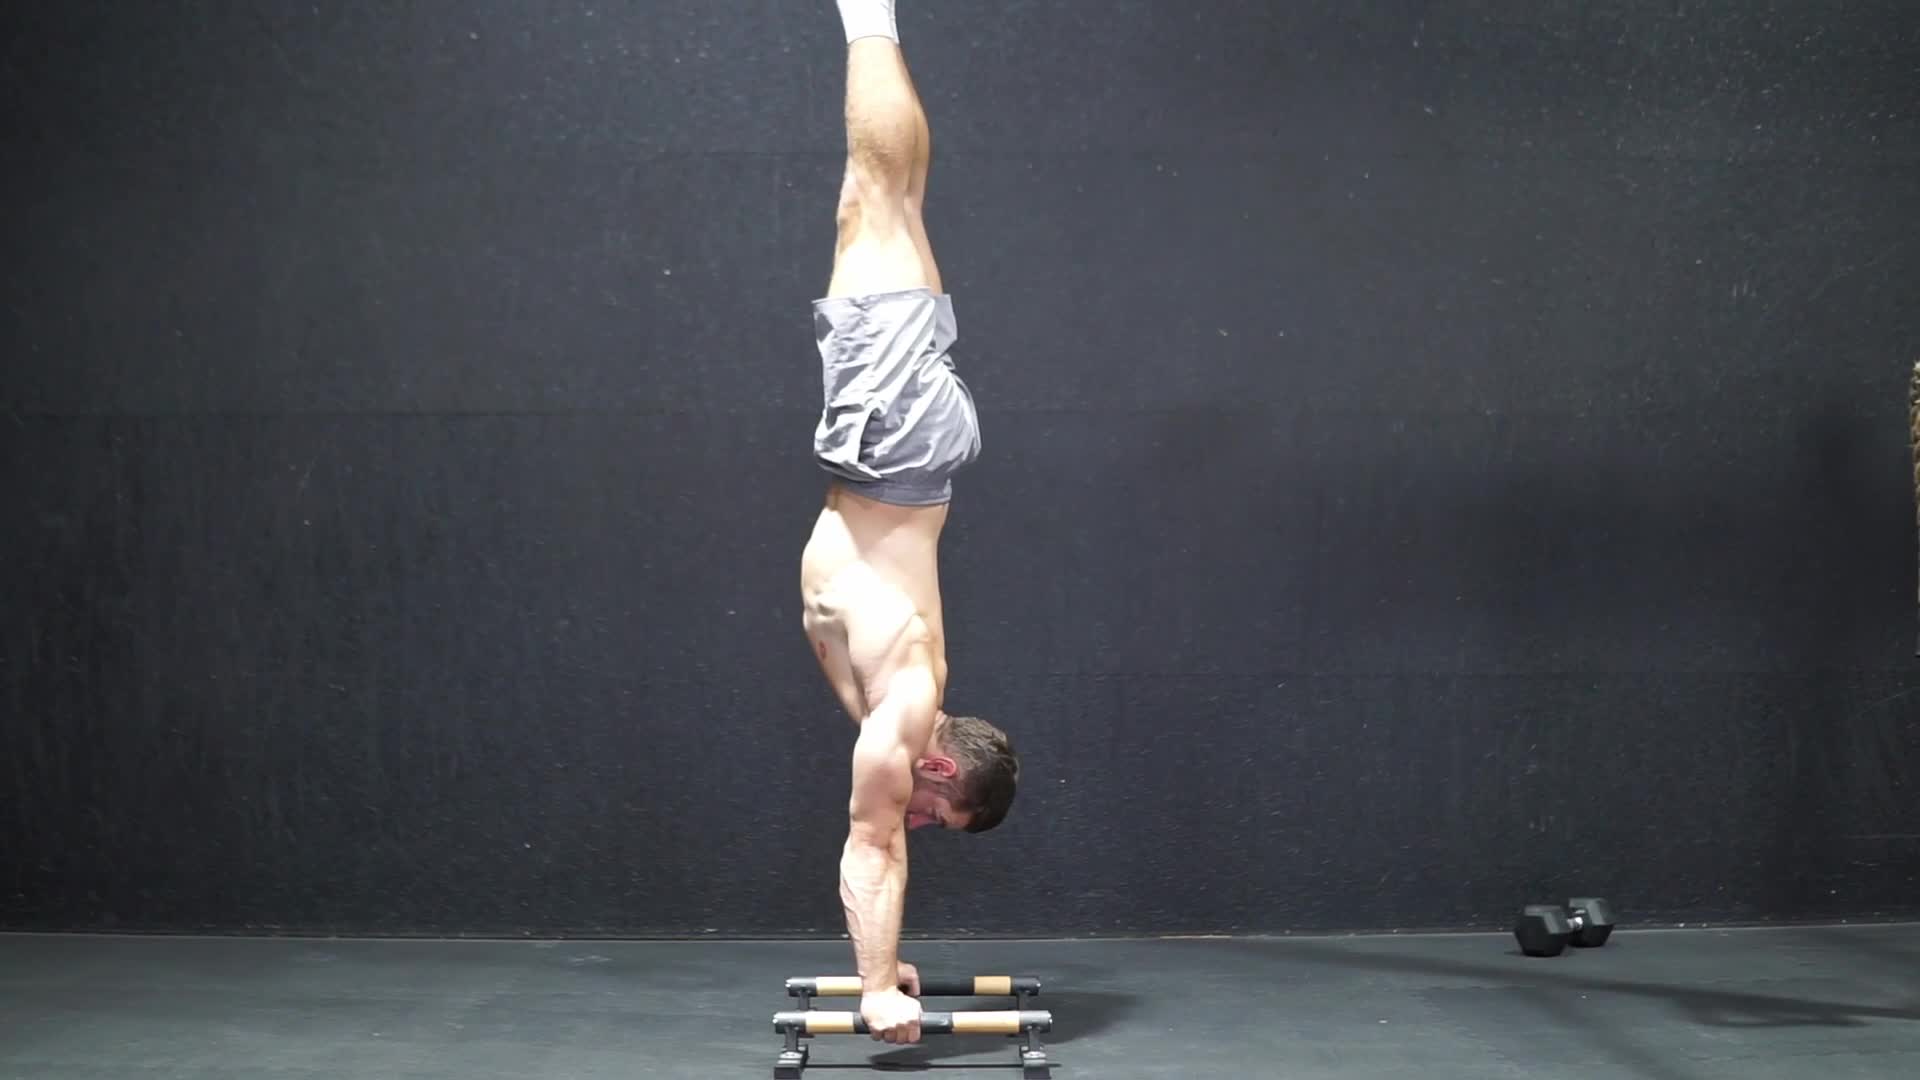
The handstand is one of those rare skills where the obstacle is almost never strength. For most beginners, the real barriers are fear of inversion, unfamiliarity with the upside-down body position, and the patience to build balance through a structured progression rather than hoping to stumble into it.
What Makes the Handstand Hard (and How to Break It Down)
The handstand is hard for three reasons that have nothing to do with each other, and that is exactly why most training advice fails to address it properly. The first is fear: the brain treats inversion as dangerous and resists it at a neurological level until that fear is specifically trained out. The second is alignment: a straight handstand requires a very specific body position that most people have never felt before. The third is balance: maintaining equilibrium on two hands over a very small base is a motor skill that takes weeks of consistent practice to develop.
Treating all three as the same problem leads to random drilling with little progress. The correct approach is to address them in sequence as three distinct phases. Phase 1 removes fear and builds inversion comfort. Phase 2 develops wall-based alignment and strength. Phase 3 builds the freestanding balance skill. You cannot rush between phases: each one has a milestone test, and you move forward only when you pass it.
Most athletes with no gymnastics background reach a 5-10 second freestanding hold within 2-4 months of daily practice. A 30-second hold typically takes 4-12 months. The single most reliable predictor of progress is practice frequency, not session length.
Before You Start: Wrist and Shoulder Preparation
Prepare your wrists and shoulders before every single handstand session, not as a formality but as a genuine prerequisite. Wrists that are not progressively conditioned will be painfully overloaded when asked to support full bodyweight. Most wrist injuries in handstand training are entirely preventable and set progress back by weeks.
The wrist needs to achieve roughly 90° of extension to bear load comfortably. If yours cannot reach that right now, build toward it gradually with daily mobility work before progressing to full inversions. Two minutes of daily wrist loading is enough to make consistent progress over 4-6 weeks.
Zginacze nadgarstka
Ustaw się na czworakach do wersji rozciągających. Połóż dłonie płasko, palcami do przodu, albo obróć je palcami w stronę kolan dla głębszego rozciągania
Prostowniki nadgarstka
Ustaw się na czworakach z dłońmi opartymi grzbietami o podłogę. Skieruj palce w stronę kolan, żeby rozciągnąć prostowniki nadgarstka
The shoulder side of the equation is simpler: your arms need to reach fully overhead without your lower back arching to compensate. If they cannot, tight lats, pecs, or biceps are the limiting factor. A daily overhead stretch addresses this and doubles as a useful pre-session warm-up.
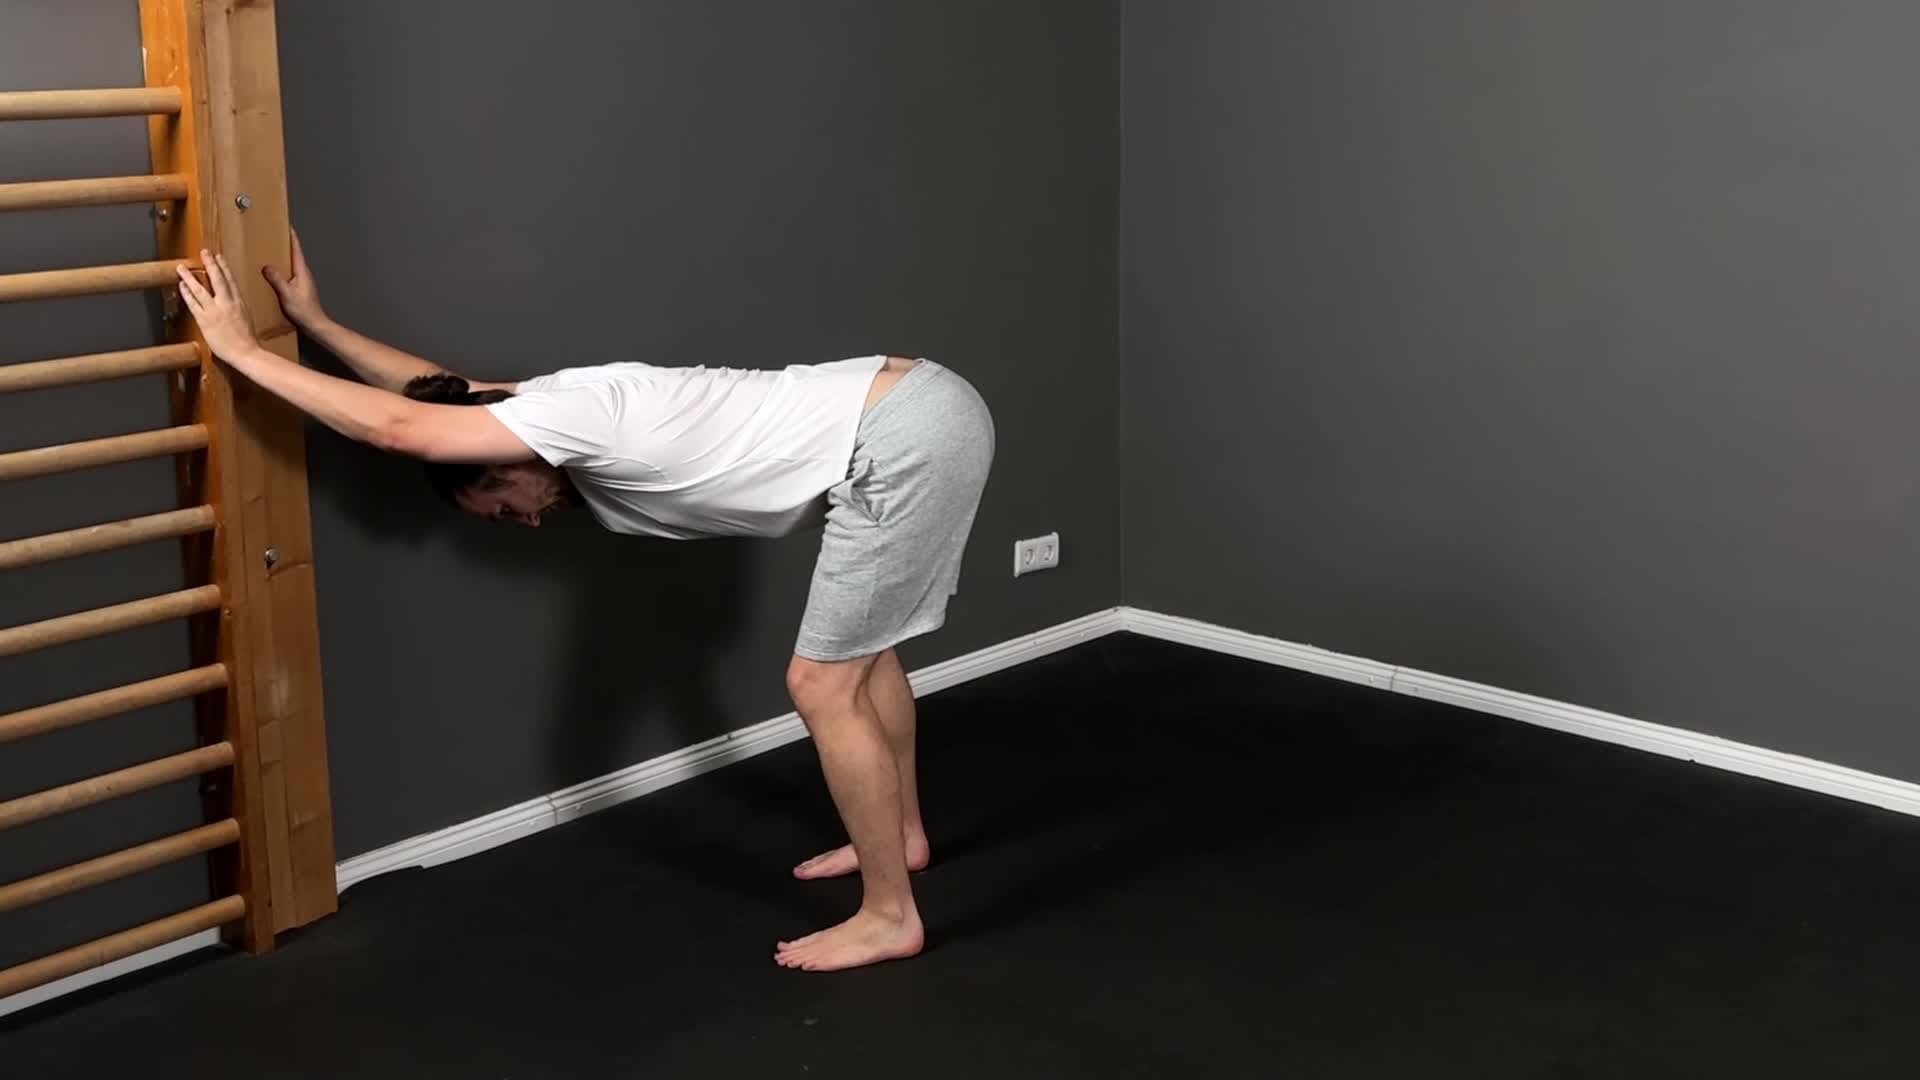
Rozciąganie nad głową
Stań wyprostowany ze stopami na szerokość barków. Unieś jedno albo oba ramiona nad głowę
Spend two weeks on wrist and shoulder preparation before attempting any loaded wall handstand work. Once these are a daily habit, keep them as your permanent warm-up for every session.
Phase 1: Getting Comfortable Upside Down
The goal of Phase 1 is not to hold a handstand. The goal is to make your brain comfortable with the inverted position, and the fastest way to do that is to teach it a reliable escape route first.
Skill 1: The bail. Before kicking up anywhere, learn the cartwheel-out bail. From a standing position, kick gently up toward a handstand and, instead of holding, rotate sideways into a controlled cartwheel landing. This exit strategy is what removes the fear of falling: the brain stops resisting inversion once it has a consistent plan for what happens if balance is lost. Practice the bail until it is automatic and effortless.
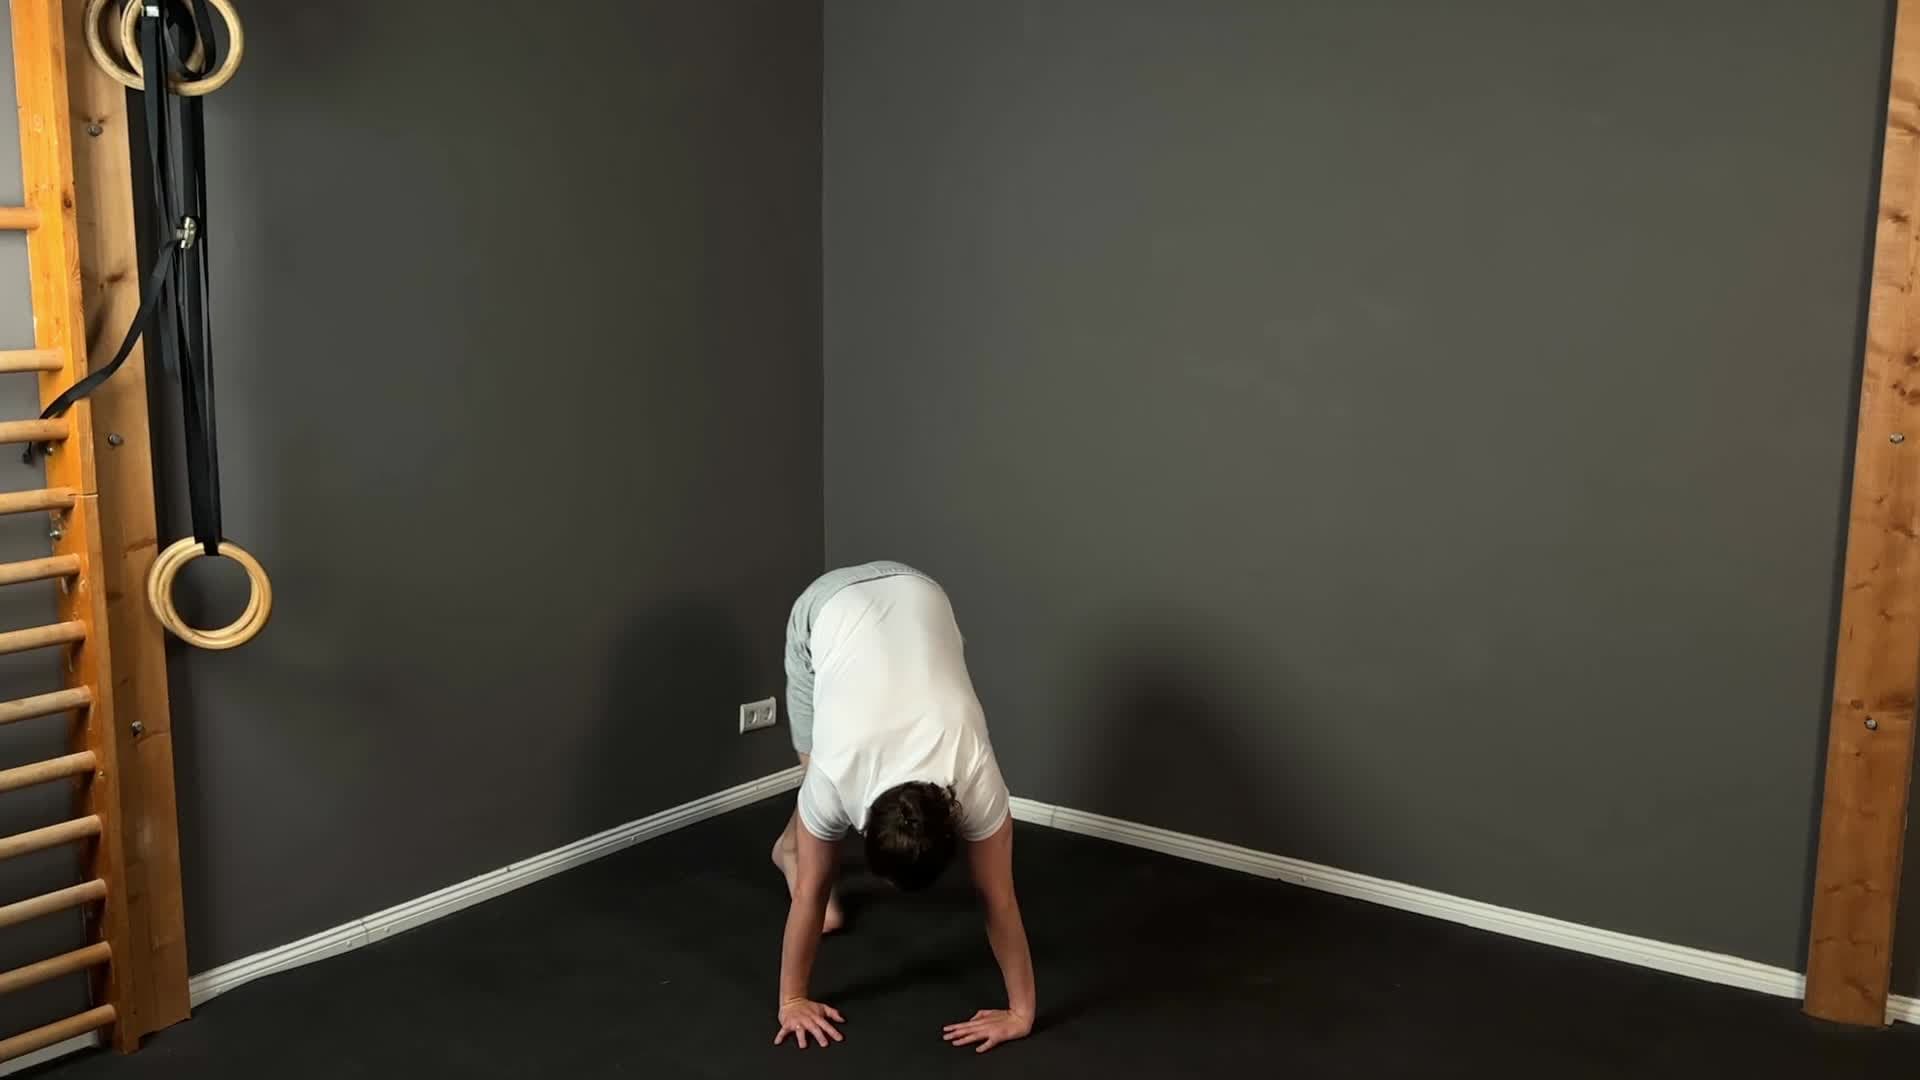
Progresje wychodzenia ze stania na rękach
Zacznij ze stabilnego stania na rękach z aktywnymi barkami. Trzymaj ręce całkowicie wyprostowane, a barki ustawione nad dłońmi
Skill 2: Wall exposure. With bailing in place, begin heel-pull progressions against the wall. Back-to-wall holds where the heels pull gently away from the wall and return. These acclimate the vestibular system to inversion while the wall provides safety, and they begin building wrist and shoulder loading tolerance incrementally.
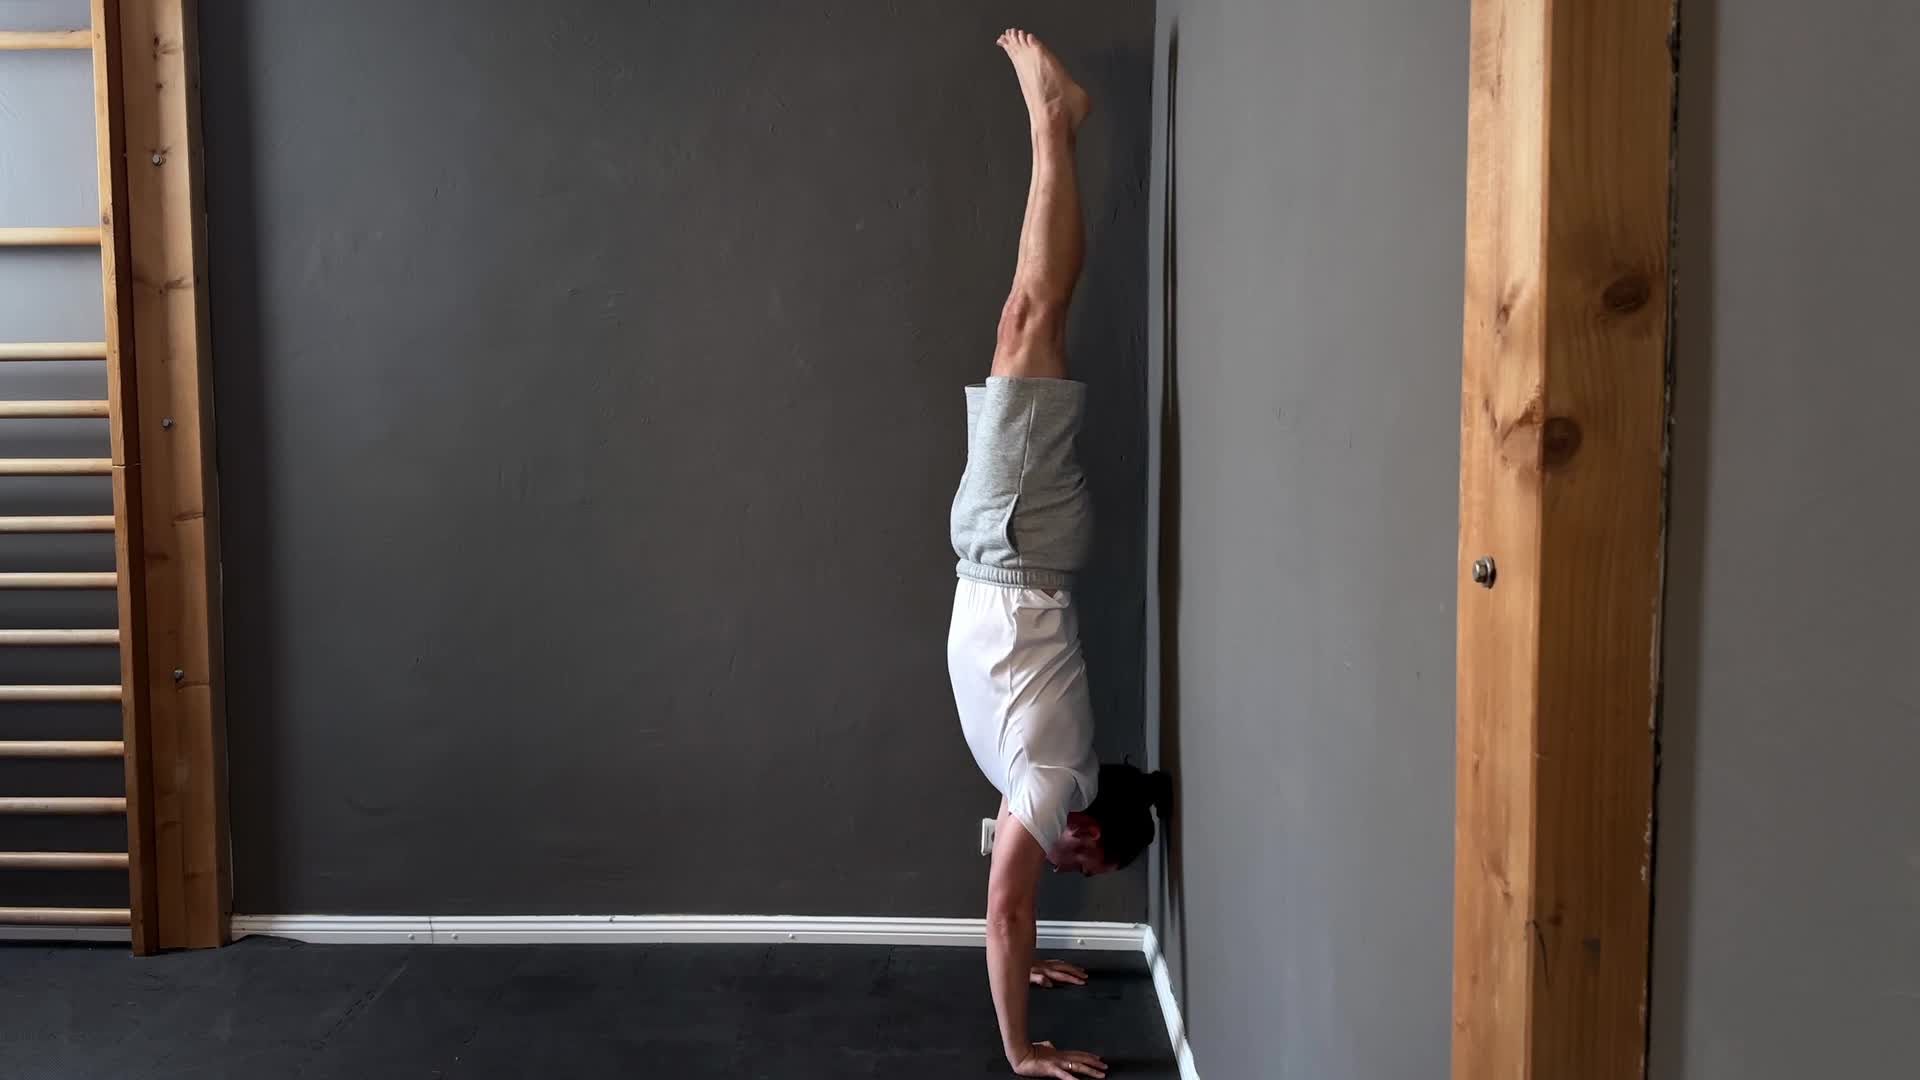
Progresje heel pull w staniu na rękach
Zacznij ze stabilnego stania na rękach plecami do ściany. Trzymaj całe ciało napięte i w jednej prostej linii
Milestone test: Hold a back-to-wall handstand for 30 seconds with control. Bail confidently and smoothly on demand, without hesitation. Pass both of these and you are ready for Phase 2.
Phase 2: Building Alignment and Strength Against the Wall
Phase 2 switches to the chest-to-wall setup: walking your hands close to the wall and kicking up so the chest faces it. This position is distinctly superior to the back-to-wall hold for developing correct handstand alignment because it forces the body into a hollow position: core tight, glutes engaged, hips slightly forward, no lower-back arch. The back-to-wall position can reinforce a banana arch because the wall permits the back to sag into it; the chest-to-wall position does not.
The primary drill is the toe-pull progression: in the chest-to-wall position, slowly peel one foot off the wall and hold for a count of three, then return. Progress to peeling both feet. The partial unloading teaches balance responses in a controlled environment.
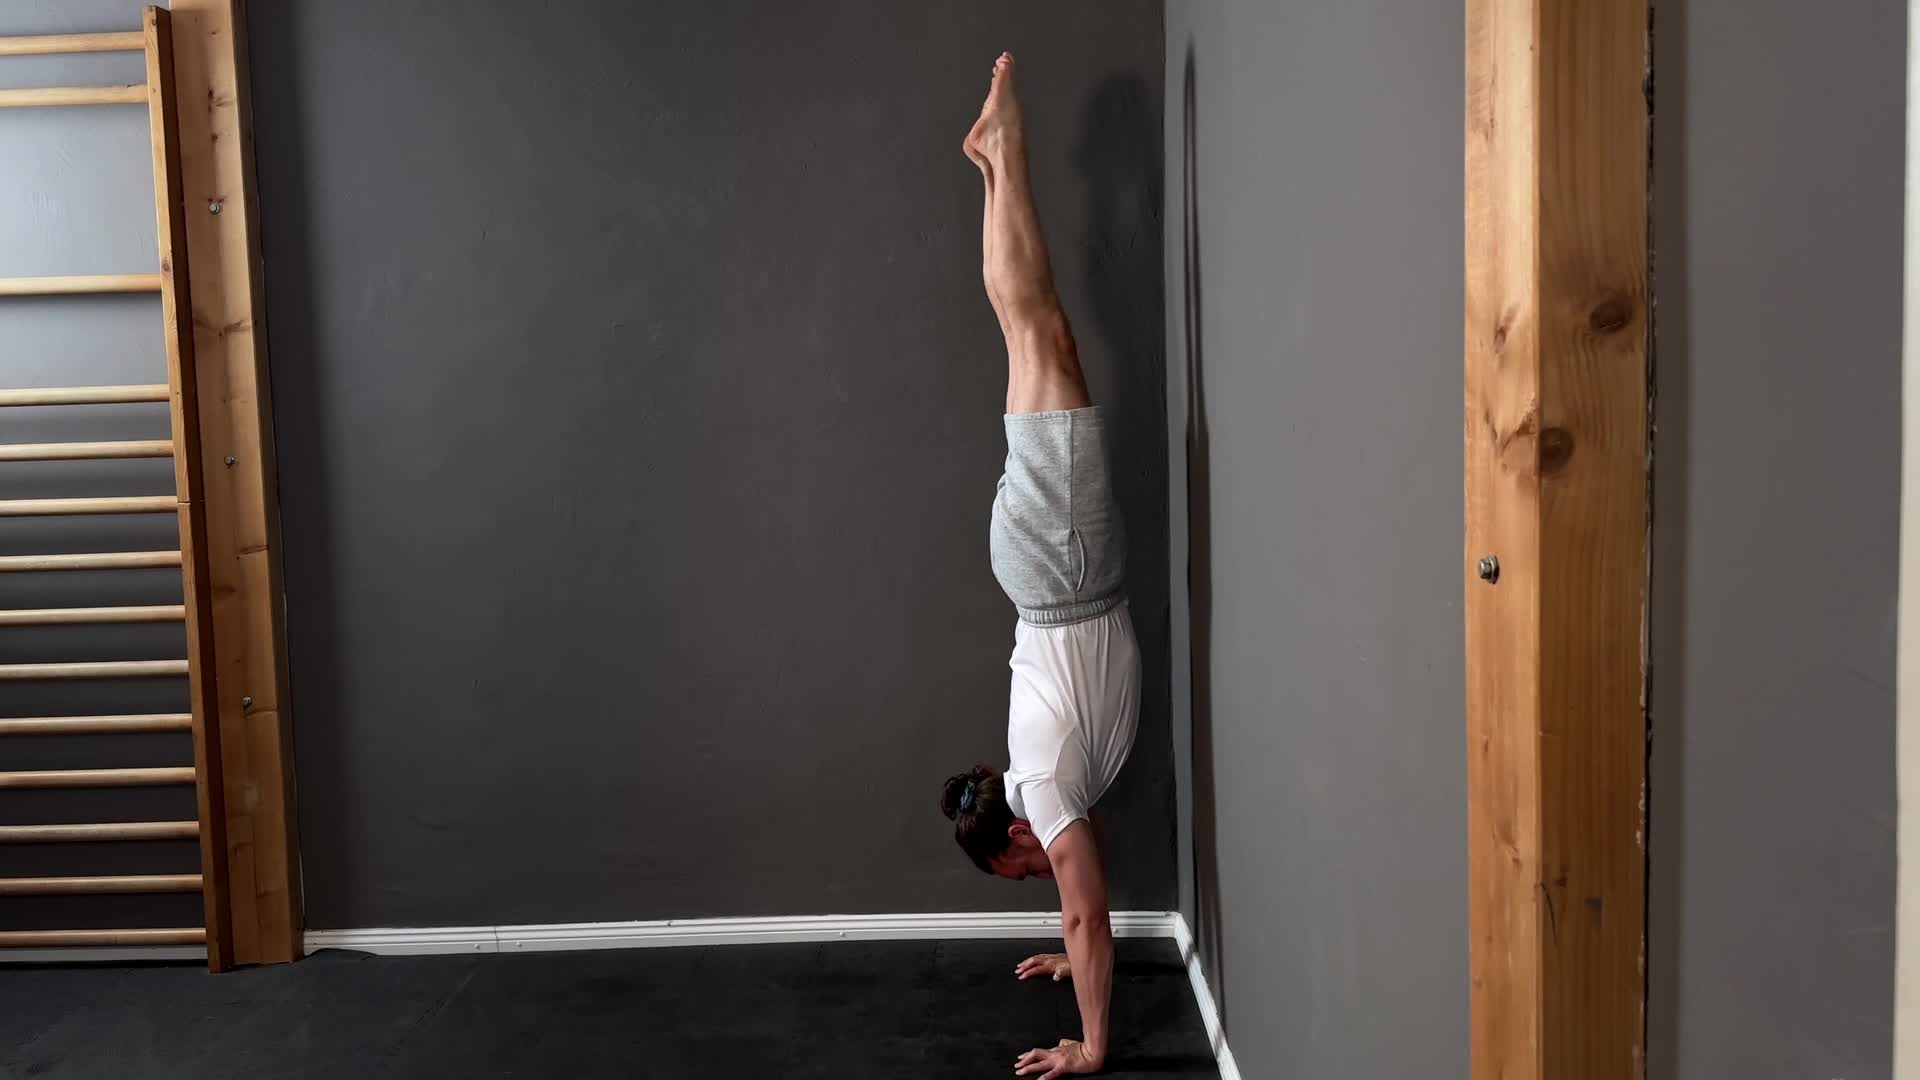
Progresje toe pull w staniu na rękach
Zacznij ze stania na rękach klatką do ściany, z dłońmi blisko ściany. Trzymaj ręce całkowicie zablokowane, a barki aktywnie wypychaj w górę
The second element of Phase 2 is hollow body conditioning: training the body shape that makes a straight handstand possible. A hollow body position means a posterior pelvic tilt, active core, squeezed glutes, and a neutral spine. Training this on the floor makes it available when you are upside down.
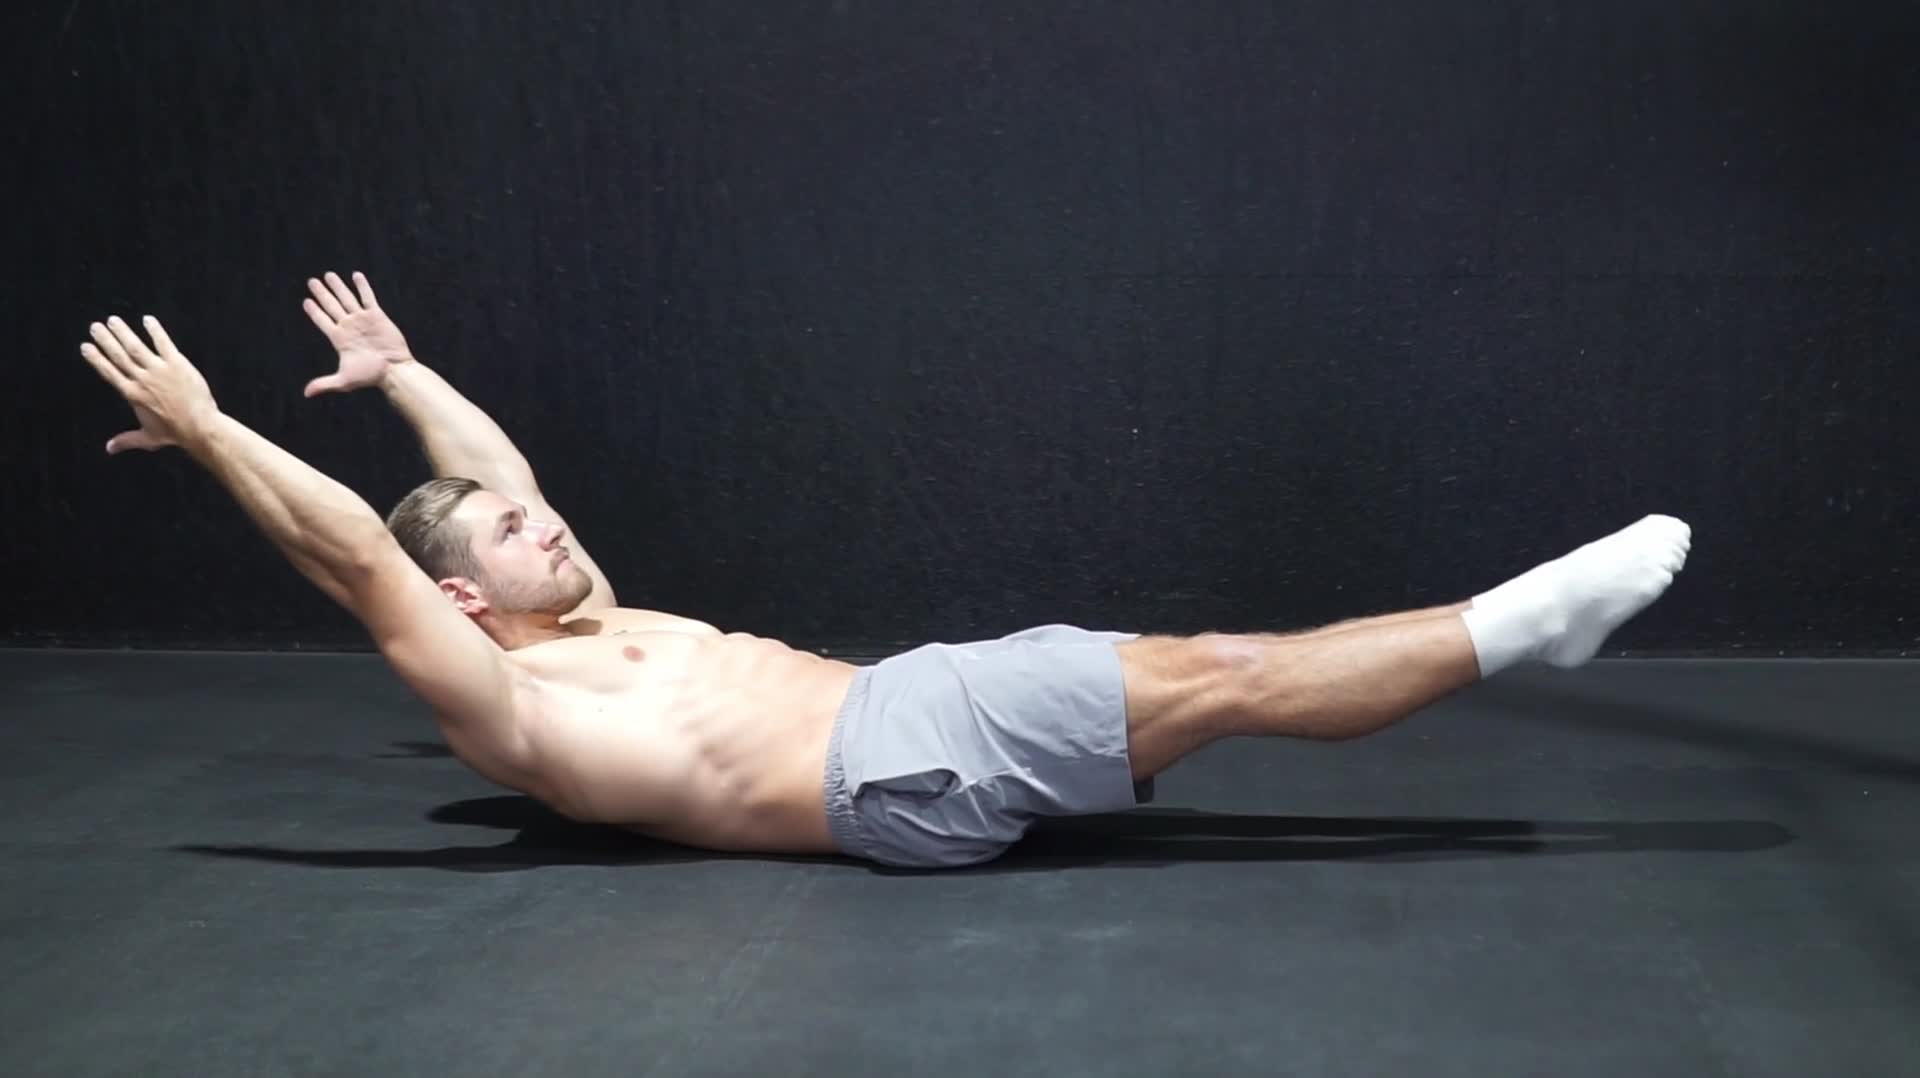
Progresje hollow body
Połóż się na plecach z rękami wyciągniętymi za głowę i wyprostowanymi nogami. Mocno dociśnij odcinek lędźwiowy do podłoża: między plecami a podłogą nie może być prześwitu
Milestone test: Hold a chest-to-wall handstand for 60 seconds with good alignment. Peel one foot off the wall and hold for 5 seconds without wobbling. Pass both and you are ready for Phase 3.
Phase 3: The Kick-Up and Freestanding Balance
Phase 3 introduces two distinct sub-skills: a reliable kick-up entry and freestanding balance. Train them separately before combining them.
The kick-up is a repeatable, controlled entry, not a desperate leap at the wall. The mechanics: start with a lunge, lead leg forward and planted, arms already extended overhead. Kick the rear leg up with moderate power while the front leg follows. The goal is to arrive softly at vertical, not to slam into the wall. The most common beginner error is overshooting: kicking too hard and smashing past vertical. Practice landing softly on the wall first, then progressively move the hands further from the wall until the kick-up lands freestanding.
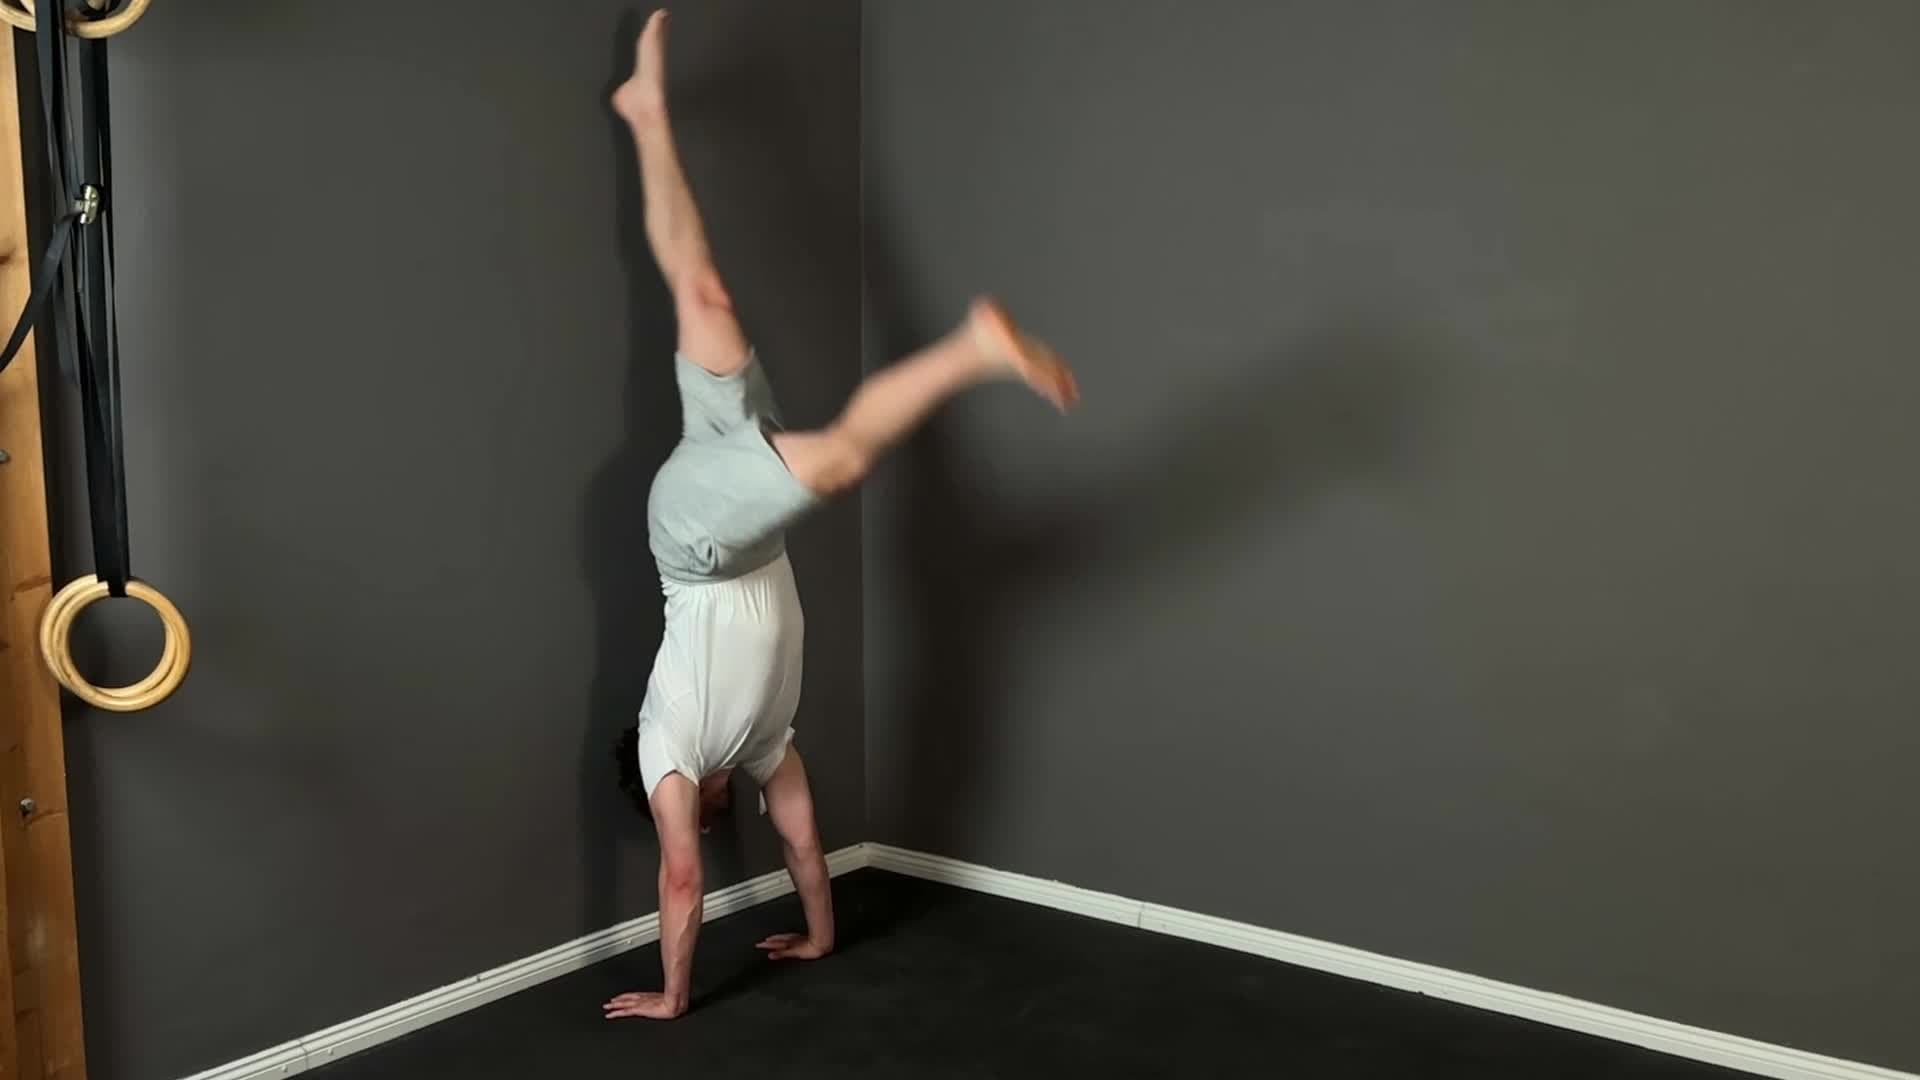
Progresje wejścia w stanie na rękach przy ścianie
Stań mniej więcej na długość ramienia od ściany. Połóż dłonie na podłodze na szerokość barków
Freestanding balance is built through timed freestanding attempts away from the wall: initially just 1-2 seconds, extended gradually over weeks. Balance comes from fingertip pressure: pressing the fingers into the floor counteracts forward toppling, and relaxing that pressure counteracts backward falling. The legs and arms should remain rigid; all micro-corrections happen through the hands. This is a slow motor skill to develop and requires high-frequency repetition to improve: 10-15 attempts per session, each one reset cleanly.
Ćwiczenie stania na rękach bez podparcia
Zacznij blisko ściany, żeby zbudować pewność i technikę. Ułóż dłonie na podłodze na szerokość barków, palce rozłożone
Milestone test: Consistent kick-up entry that lands near vertical. A 5-second freestanding hold. Pass both and you have your first freestanding handstand.
How to Structure Your Handstand Training
Train a minimum of 5 days per week. Sessions should be short: 10-15 minutes of focused work consistently beats 45-minute occasional sessions. The key constraint is that balance work must come before strength work in every session: balance quality deteriorates with fatigue, so you will get better returns from practicing freestanding holds while fresh and saving wall strength work for the end.
| Phase | Session structure |
|---|---|
| Phase 1 | 2 min wrist prep → bail practice (5 reps) → wall exposure (3×30s hold) |
| Phase 2 | 2 min wrist prep → chest-to-wall holds (3×60s) → toe pulls (3×5 reps) → hollow body (3×30s) |
| Phase 3 | 2 min wrist prep → 10-15 freestanding attempts → kick-up practice (10 reps) → wall holds for volume |
Never grind through failed attempts. Each freestanding attempt should be reset cleanly: if you lose balance, come down, reset, and try again. Attempting 10 clean attempts gives far more useful neural feedback than grinding 30 messy ones.
The Simple Calisthenics app programs this structure adaptively, tracking your current phase and adjusting each session's content to where you actually are.
Common Handstand Mistakes and How to Fix Them
Most handstand plateaus trace back to five specific errors. Identify which one describes your training and address it directly.
-
Skipping wrist preparation. This is the most expensive mistake. Wrists that are not conditioned progressively will begin to ache, and once they do, you will need to take a week or two off: setting back progress that took weeks to build. Make wrist prep non-negotiable from day one.
-
Staying back-to-wall too long. The back-to-wall position allows the lower back to arch into the wall, which trains the banana-arch shape rather than the hollow-body shape. Move to chest-to-wall as soon as you can hold 30 seconds back-to-wall.
-
Overshooting the kick-up. The kick-up requires controlled power: too much and you fly past vertical and smash into the wall. Practice near the wall first, landing feet softly, and reduce power as the accuracy improves.
-
Trying to balance with the whole body. Balance adjustments happen at the fingertips, not by swinging the legs or shifting the whole torso. If you are using large movements to stay up, the body rigidity work (hollow body, alignment training) needs more attention before balance will improve.
-
Practicing until failure every session. Handstand is a skill, not a conditioning exercise. Stopping each attempt before form breaks down (and ending the session while quality is still good) produces faster long-term progress than grinding through fatigue.
Frequently asked questions
How long does it take to learn a freestanding handstand?
Most beginners can hold a wall-supported handstand within 2-4 weeks and reach a freestanding hold of 5-10 seconds within 2-4 months of daily practice. A 30-second freestanding hold typically takes 4-12 months. Progress depends almost entirely on practice frequency: daily short sessions beat weekly long ones.
Should I learn the handstand against the wall or freestanding from the start?
Wall first, always. The wall removes the balance variable so you can develop the body position, alignment, and wrist strength needed to support your bodyweight safely. Attempting freestanding before building wall strength significantly increases wrist injury risk and slows overall progress.
How often should I practice handstands?
A minimum of 5 days per week, with 10-15 focused minutes per session. Handstand is a neuromotor skill: frequency matters more than volume. Daily practice creates the neural adaptations that produce balance. Two sessions per week will produce very slow progress regardless of duration.
What strength do I need before starting handstand training?
No specific strength benchmark is required for beginning wall handstand work: the progressions build strength from scratch. However, wrist conditioning is essential before bearing full bodyweight. Start wrist preparation at least two weeks before your first full wall handstand attempts.
How do I stop falling when doing a handstand?
Balance in a handstand comes from small fingertip adjustments: pressing the fingers into the floor to counteract forward falling. The key error is trying to balance by moving the legs or arms, which is too slow. Keep the body rigid and adjust only through finger pressure and slight wrist extension.
Train your handstand with a structured skill tree that adapts to your level: wall holds, kick-up drills, and freestanding balance all in one place in the Simple Calisthenics app.
Wypróbuj za darmoFAQ
- How long does it take to learn a freestanding handstand?
- Most beginners can hold a wall-supported handstand within 2-4 weeks and reach a freestanding hold of 5-10 seconds within 2-4 months of daily practice. A 30-second freestanding hold typically takes 4-12 months. Progress depends almost entirely on practice frequency: daily short sessions beat weekly long ones.
- Should I learn the handstand against the wall or freestanding from the start?
- Wall first, always. The wall removes the balance variable so you can develop the body position, alignment, and wrist strength needed to support your bodyweight safely. Attempting freestanding before building wall strength significantly increases wrist injury risk and slows overall progress.
- How often should I practice handstands?
- A minimum of 5 days per week, with 10-15 focused minutes per session. Handstand is a neuromotor skill: frequency matters more than volume. Daily practice creates the neural adaptations that produce balance. Two sessions per week will produce very slow progress regardless of duration.
- What strength do I need before starting handstand training?
- No specific strength benchmark is required for beginning wall handstand work: the progressions build strength from scratch. However, wrist conditioning is essential before bearing full bodyweight. Start wrist preparation at least two weeks before your first full wall handstand attempts.
- How do I stop falling when doing a handstand?
- Balance in a handstand comes from small fingertip adjustments: pressing the fingers into the floor to counteract forward falling. The key error is trying to balance by moving the legs or arms, which is too slow. Keep the body rigid and adjust only through finger pressure and slight wrist extension.